
Grouting is an essential process that involves filling the gaps between tiles to create a smooth and level surface. Grouting tiles not only enhances the aesthetic value of your floor or wall but also provides extra protection against moisture and water damage. Whether you’re a DIY enthusiast or a flooring professional, there are certain tips that you should consider to achieve a perfect grout job. This article provides you with a step-by-step guide on how to grout tiles like a pro using grout from a tile supplier.
Choose the right grout from a reputable tile supplier
The first step in achieving a perfect grout job is selecting the right type of grout. You need to match the grout with tile type and application area to ensure a perfect finish. For instance, sanded grout is suitable for tiles with gaps larger than 1/8 inch, while unsanded grout is best suited for gaps that are less than 1/8 inch. You should consult your tile supplier to get advice on the right type of grout for your project.
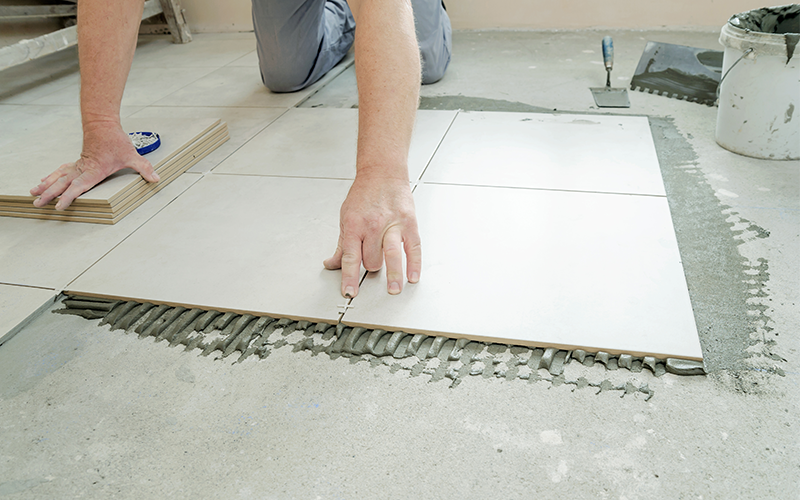
Prepare the surface for grouting
Before you begin grouting, you need to ensure that the tiles are clean and free of debris to get a perfect bond. You need to wipe or vacuum the surface to remove any dust or debris. Then, you need to mix the grout according to the instructions provided by your tile supplier. Doing this will give you the right consistency and ensure that the grout adheres correctly to the tiles.
Apply the grout
Take a grout float and apply the mixture to the surface of the tile at a 45-degree angle. Ensure that the gaps are fully filled, and the grout is level with the tile surface. Using a grout float helps to smear the grout into the gaps, making the process efficient. You should work in small sections to prevent the grout from drying up before you finish.
Clean-up
After applying the grout, you need to wait for about 20 minutes to allow it to dry slightly before an initial clean-up. You can use a damp sponge and clean water to wipe off the excess grout from the tiles and fill gaps. You should make sure that the sponge is damp enough to prevent removing too much grout during clean-up.
Final clean-up
After clearing the excess grout, you need to wait for about 3 hours or until the grout is dry before doing the final clean-up. During the final clean-up, you can use a dry cloth to buff the surface of the tiles and give the grout a polished finish. You should ensure that the grout is dry enough to prevent it from smudging.
Conclusion: Grouting tiles from a tile supplier can be a challenging task, but with the right steps, you can achieve a perfect result. Working with a reputable tile supplier is an excellent way to get the best quality grout and proper guidance on how to apply it. Remember to use safety equipment such as gloves to keep your skin from getting irritated by the grout. Happy grouting!