Caulking is an essential step in any home renovation project. Whether you’re replacing a window or repairing a wall, caulking ensures a clean finish and prevents air and moisture from entering and exiting the home. However, not all caulks are created equal, and improper application can lead to cracks, leaks and even rot. In this blog post, we’ll discuss everything you need to know about caulking, from types of caulks to tools needed for application, so you can achieve a perfect finish every time.
Types of Caulks
There are several types of caulks available, including silicone, latex, hybrid caulks and polyurethane. Each type has its benefits and drawbacks, but the most commonly used is silicone. It is water-resistant and durable, making it ideal for use in bathrooms and kitchens. Latex, on the other hand, is easier to remove and paintable, making it perfect for general-purpose use. Hybrid caulks combine the strength of silicone with the ease of use of latex. Polyurethane is perfect for outdoor projects as it can withstand extreme temperatures.
Preparation
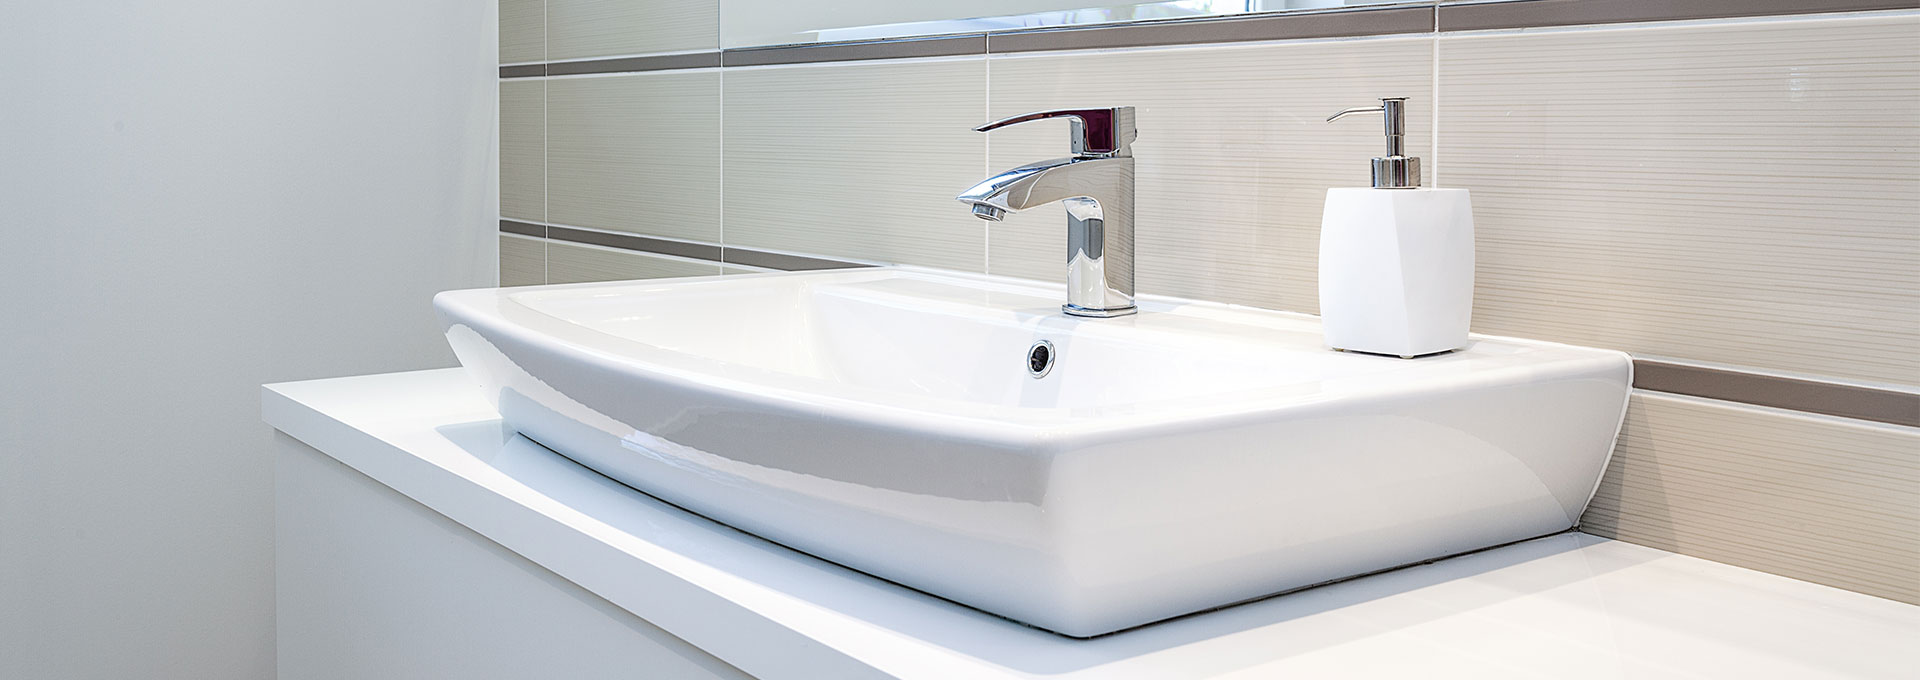
Before you start caulking, ensure the surface is clean, dry and free from old caulk and debris. Wipe it down with a damp cloth and allow it to dry for a few hours before application. Use a utility knife to remove any old caulk, and sand the surface lightly to create a smooth finish. If you’re caulking around a bathtub or sink, use a bathroom caulk remover to get rid of mold and mildew.
Application
The key to achieving a perfect finish when caulking is using the right tools. Use a IB caulking gun to dispense the caulk evenly. Apply a small amount of caulk at a time, working in sections of about two to three feet. Use a caulk smoothing tool or your finger to spread the caulk and create a smooth finish. Be sure to smooth the edges of the caulk to the surface and wipe away any excess. For large gaps, consider using a foam backer rod to help fill the space.
Drying and Painting
Allow the caulk to dry for at least 24 hours before painting or exposing it to moisture. Check the manufacturer’s instructions for specific drying times, as they vary based on the type of caulk used. Once the caulking is dry, you can paint it to match your surrounding walls. Use a paintable caulk if you plan on painting it.
Maintenance
Finally, regular maintenance is crucial for the longevity of your caulking. Check for cracks and gaps every few months and reapply caulk as needed. Inspect the caulking around your windows and doors, and replace it if you notice cracks or air leaks.
Conclusion
Caulking may seem like a small step in your renovation project, but it plays a significant role in protecting your home from the elements and ensuring a clean finish. Follow these tips for the perfect caulking job every time. Remember to choose the right type of caulk, prepare the surface correctly, apply it evenly, and perform regular maintenance to keep your caulking looking and performing like new.